
If your iPhone SE has decided to throw a tantrum and lock you out, don’t panic—you’re not alone. Many users find themselves staring at the dreaded “iPhone is disabled” message, wondering if their phone is plotting against them. But fear not! Resetting your iPhone SE is easier than finding a cat video on the internet.
Understanding the iPhone SE Disabled State
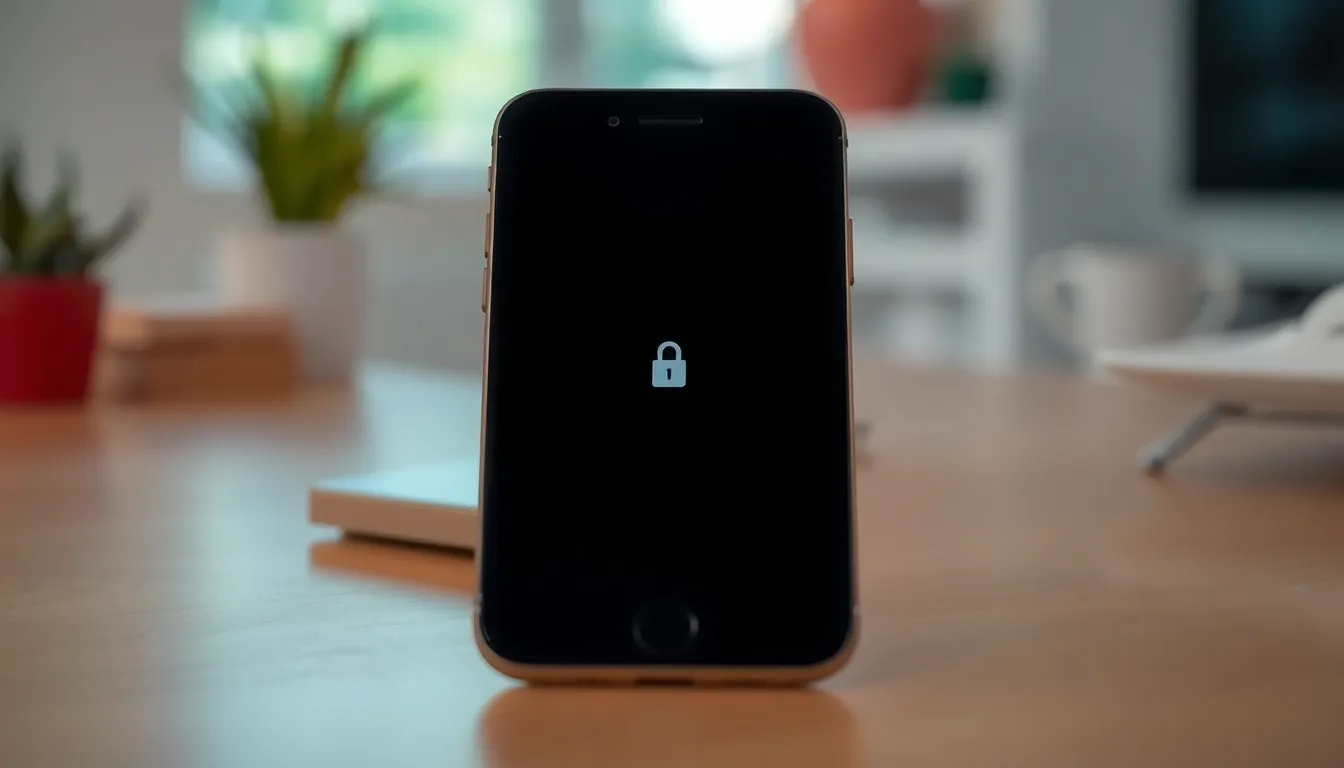
The iPhone SE may display the “iPhone is disabled” message after a user enters an incorrect passcode too many times. When this happens, access to the device becomes limited, and frustration can quickly set in. Limited access persists until the user addresses the issue through specific reset methods.
An iPhone enters this disabled state as a security measure to protect personal information. Users typically encounter this state after entering the incorrect passcode six times consecutively. The device denies login attempts for one minute after six tries, but further incorrect entries extend the timeout period significantly.
Potential causes for the disabled state include forgotten passcodes, accidental triggering of security features, or children entering passwords unknowingly. Each scenario contributes to the activation of the disable feature, necessitating a reset as the primary solution.
Options for resolving this state exist, involving methods such as using iTunes or recovery mode. Users should remain aware that resetting the device erases all data on the iPhone, emphasizing the importance of regular backups.
Understanding the implications of a disabled iPhone SE helps users navigate their next steps wisely. The reset process might seem daunting, but grasping the reasons behind the disabled state can lead to a more straightforward resolution.
Reasons Why Your iPhone SE Might Be Disabled
Understanding why the iPhone SE becomes disabled helps in addressing the issue effectively. Several factors contribute to this frustrating situation.
Entering the Wrong Passcode
Entering an incorrect passcode triggers a security measure that disables the device. After six failed attempts, the iPhone SE will lock users out. This measure protects personal information from unauthorized access. Sometimes, users forget their passcodes after not using their devices for an extended period. Accidental entries happen when toddlers play with phones, leading to multiple incorrect attempts. Keeping track of passcodes or using passcode managers can prevent this issue.
Software Glitches
Software glitches can also lead to an iPhone SE being disabled. Transitions between updates may result in unexpected behaviors, causing the device to lock. Bugs in operating systems can prevent the phone from recognizing correct inputs or passcodes. Regularly updating the device ensures bugs are fixed, improving performance. Not every glitch leads to a disablement, but it increases the chances of encountering issues. Keeping the software up to date minimizes these potential problems, ensuring seamless functionality.
Methods to Reset iPhone SE When Disabled
Resetting an iPhone SE when it’s disabled involves various methods. Each option presents a different approach for users facing this issue.
Using iTunes
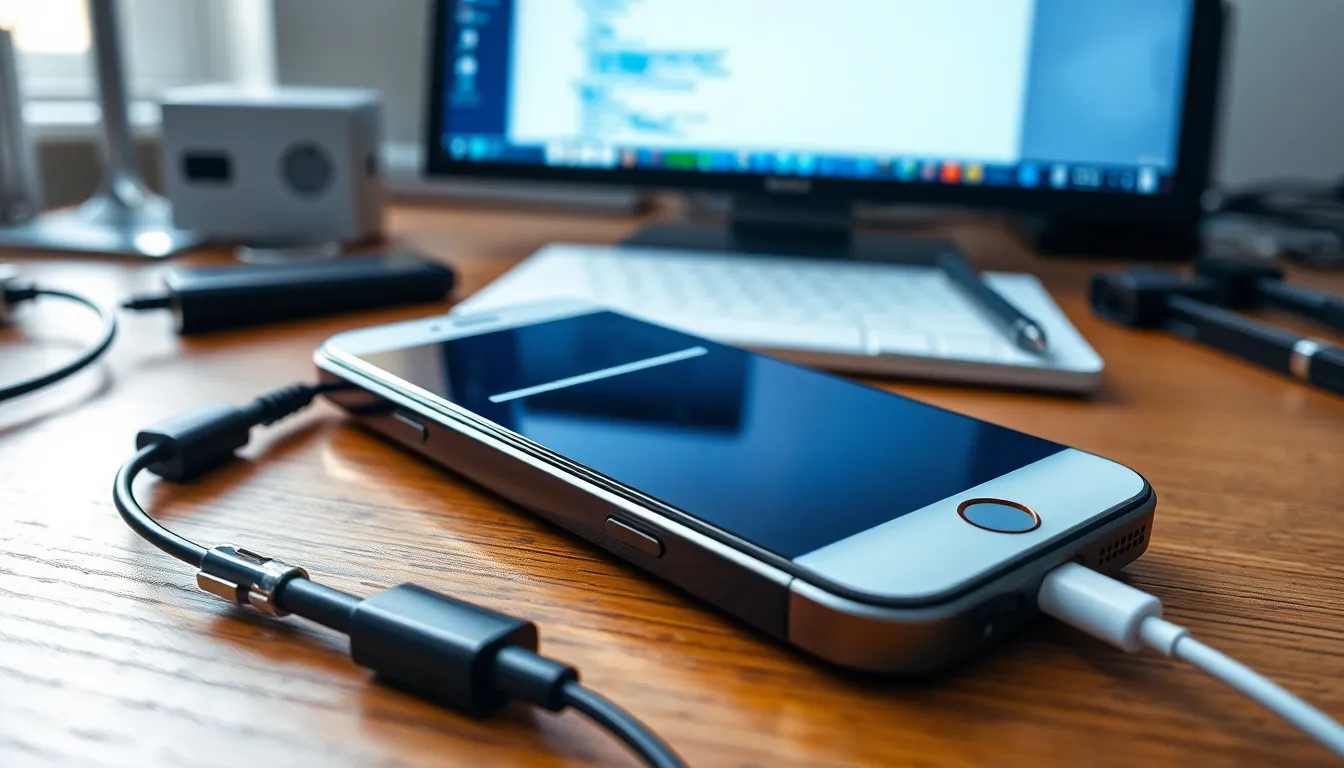
Using iTunes offers a reliable way to reset a disabled iPhone SE. First, connect the device to a computer with iTunes installed. Hold the Side and Volume Down buttons simultaneously until the recovery mode screen appears. Select “Restore” in iTunes when prompted. This process erases all content and settings, including the passcode, providing a fresh start for the device.
Using iCloud
Using iCloud is another method to reset a disabled iPhone SE. Start by visiting iCloud.com and signing in with Apple ID credentials. Once logged in, access “Find iPhone” and select the device from the “All Devices” drop-down menu. Choose “Erase iPhone” to initiate the reset. This option remotely wipes all data, allowing for a setup as new.
Using Recovery Mode
Using Recovery Mode serves as a crucial technique for resetting a disabled iPhone SE. Begin by connecting the device to a computer and launching iTunes or Finder. Press the Side and Volume Down buttons until you see the recovery mode screen. In iTunes, select “Restore” when prompted. This method effectively restores the device and clears the passcode, enabling users to set it up as new.
Important Considerations Before Resetting
Resetting an iPhone SE when it’s disabled requires careful thought. Several important factors influence the process and outcome.
Backing Up Your Data
Backing up personal data before a reset is crucial. Utilize iCloud or iTunes to save important documents, photos, and app data. Ensure that the most recent backup is available, as this can alleviate the potential for data loss. Regular backups prevent unnecessary headaches during the reset. Use iCloud settings on the device or iTunes on a computer to initiate backups efficiently. Remember, the reset erases all content and settings, making recovery impossible without a backup.
Understanding Data Loss
Understanding the implications of resetting a device is essential. A reset leads to complete removal of data on the iPhone SE. Apps, contacts, and personal files vanish when the reset occurs, highlighting the importance of prior backups. Users experience significant loss if they haven’t saved their data elsewhere. Be aware that once the device resets, recovering that lost data isn’t possible through standard means. Familiarity with this concept reinforces the need for regular backups and precautions before proceeding.
Conclusion
Resetting a disabled iPhone SE may seem daunting but it’s a manageable task with the right approach. By following the outlined methods users can regain access to their devices while ensuring personal data is backed up beforehand. Understanding the reasons behind the disabled state can help prevent future occurrences. Regular backups and software updates play a crucial role in maintaining device functionality and security. With these strategies in mind users can navigate the reset process confidently and efficiently.